How to Build a Better Slideshow
In Search of Presentation Zen
OK, look. We need to have a talk. A lot of you are out there giving lectures, presentations, and workshops, and your slideshows need work. Maybe not all of them, but definitely most.
I thought I got the message out there a few years ago when I urged people to read Presentation Zen, the book that forever changed my own slideshows.
But I didn’t have much of an audience back then, and since that time I’ve seen far too many PowerPoints and other slideshow presentations that still appear to be suffering from some very fixable problems.
So I’m going back in. I’ve put together a list of six things you can do to make your slideshows better. A lot better. Here we go.

Gonzalez, J. "Let's Make Better Slideshows." Cult of Pedagogy, https://www.cultofpedagogy.com/ slideshows/. Accessed 29 September 2019.
1. Cut Way Back on Your Text
Slides are meant to supplement and enhance your presentation, to provide visual interest and add new dimensions to your message. If your presentation is going to be memorable, the audience should get something from both you AND the slides. The slides themselves shouldn’t BE the presentation.
This seems like common sense, but somehow we have arrived at a place where many, many presenters use the slideshow to deliver the whole presentation: They put ALL the information on the slides and assign themselves the role of simply dictating that information to the audience. Once your audience realizes this is what you’re going to do for every slide, they immediately start looking for ways to occupy their brains for the foreseeable future.
I can hear your protests now: But I have information to give my audience! If it’s not on the slide, they may not remember it. Even more importantly, I MIGHT NOT REMEMBER IT EITHER!
Not to worry. Here are some specific ways you can pull text OFF of your slides while still giving the exact same amount of information to your audience:
- Shorten your bullet points. Instead of writing long sentences or phrases on your slides, try sticking to just short phrases. Then use the notes panel to script out what you’re going to actually say. You can either print out the notes and keep the printout nearby while you present, or when you put your slideshow in presentation mode, you should be able to set it up so that you can see the notes panel, but your audience can’t, allowing you to follow the script without reading directly off the slides. Ideally, if you have rehearsed your presentation enough, you should be able to do this without really reading the notes verbatim.
- Make more slides. Take one slide that has a lot of information and spread that text over several slides, rather than cramming it all together on one. In other words, instead of one slide that has five bullet points, create a whole section of your presentation that has five different slides, each of which illustrates a separate item from that original bulleted list.
- Create a handout. Many presenters and instructors want to put lots of information on their slides so they can provide those slides to students or audience members after the presentation, for reference. This is a recipe for awful, awful slides. If you want your audience to be able to access your content later, provide a handout that summarizes your main points. You can use a paper handout or create a PDF. To distribute a PDF handout, store it on a cloud-based platform like Google Drive or Dropbox, create a sharing link to the file, then shorten that link with a site like Bitly, put the link inside a QR code, or both, and provide these to your audience after the presentation so they can grab the handout for themselves.
BEFORE

AFTER
2. Update Your Artwork and Fonts
One of the simplest ways to improve your slideshows is to update outdated artwork and fonts.
- Artwork. The clip art that so many of us used in the past is really starting to look out of date. Now we have so many free visuals available to us online. I recommend you either go with free stock photos from sites like Pixabay or Unsplash, or simple icons that can be found right inside PowerPoint or added into Google Slides with an add-on like Insert Icons for Slides. If you go searching online for images, be sure to educate yourself about the legal and ethical use of images you find online.
- Fonts. You can literally download thousands of fonts for free from sites like dafont and install them right into PowerPoint. If you’re using Google Slides, you can choose from the nearly 1,000 fonts Google has licensed for use in G Suite tools. But don’t go crazy: Only use the fun, decorative fonts for things like titles. Stick to simpler, easier-to-read fonts for headings and body text. This article from Visual Hackers offers a detailed overview of choosing fonts for presentations.
BEFORE

AFTER

3. Create Previews and Signposts
It’s difficult to sit through a presentation when you really have no idea how long it’s going to be or how many major points are going to be covered. If you let your audience know they are in the capable hands of a presenter who has put together a well-organized presentation, they’ll be able to relax and concentrate on your message.
You can accomplish this by offering a preview of your presentation at the beginning. This can be a simple slide that lists the major topics you’re going to cover. Then, as you move through the presentation, update them by returning to that list and showing them where you are.

4. Go Light on the Animations
Most tools offer huge collections of animations you can use in your slideshows: You can have bullet points explode onto your slides, bring a picture in with a slow, dramatic spin, and fade from one slide to the next with a checkerboard effect. It’s all really neat-o.
Unfortunately, for your audience it gets old pretty fast. Ideally, they should be focused on your words, not on the way those words bounce onto the screen. So when it comes to animations, less is definitely more.
5. Keep Things Consistent
Within each slide and from slide to slide, do whatever you can to keep your elements consistent. Doing so will make your presentation look much more professional, which will give you more confidence as a speaker and will give your audience a lot more confidence in you.
- Fonts: Stick with one style for your headings and one for your body text. You could do a third for your more decorative elements, like large titles or divider pages. Ideally, these elements will be the same size from page to page.
- Colors: Choose just a few colors for your slideshow and keep them the same throughout.
- Other design elements: If you are using photographs, try to go with similar styles throughout the presentation. If you’re using icons, use other icons of similar colors on multiple slides.
6. Proofread (Out Loud)
This is one of the hardest things to make yourself do, but it is probably the thing that will make the biggest difference: Go through your slides and read them out loud. No, reading it carefully in your head is not the same. Do it out loud. I promise you will catch at least one error.
This is not the same as practicing your presentation; that you should definitely do multiple times if you want to do a good job in front of an audience. But if you really want to catch those embarrassing spelling, punctuation, and other mechanical errors, the only way to find them is to read your slides out loud.
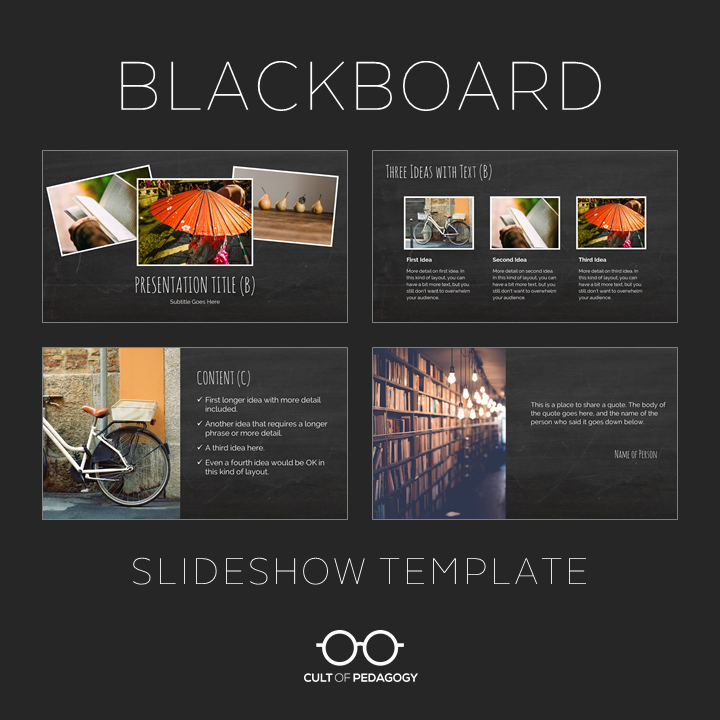
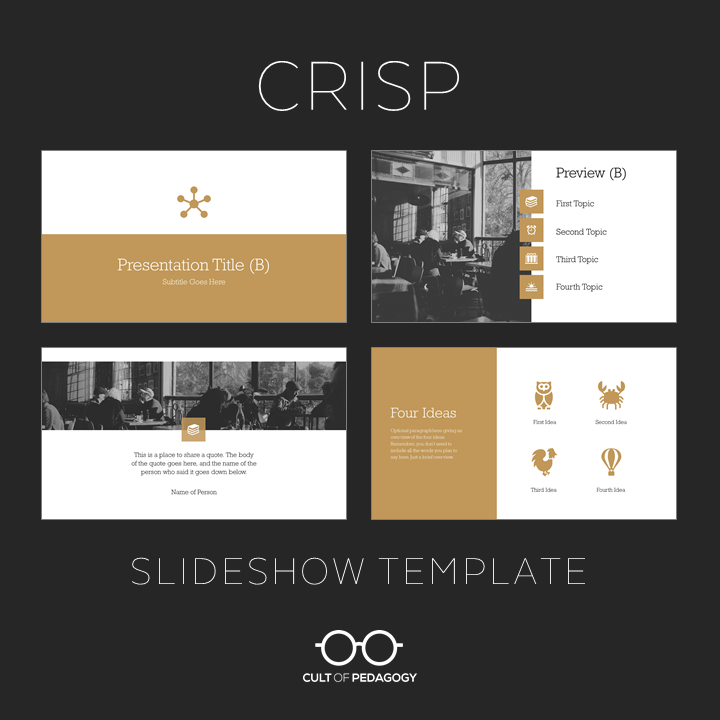
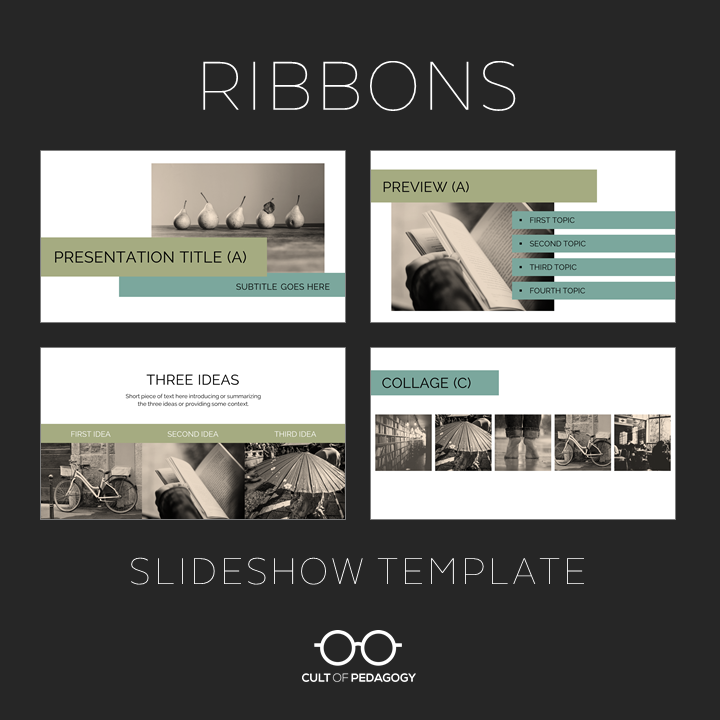
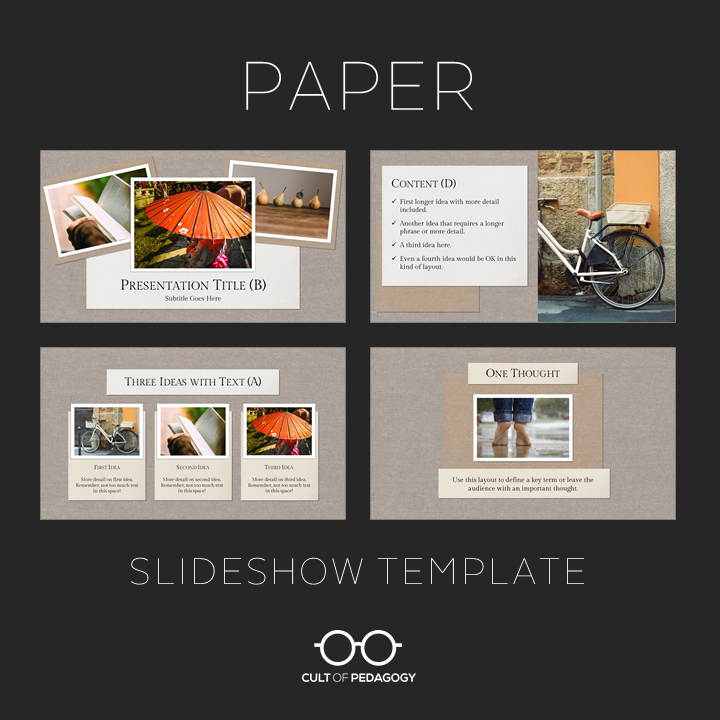
Need Some Fresh Templates?
I have just created a set of four slideshow templates that you might want to get for yourself. They’re available in PowerPoint for Windows and Google Slides. Each one contains 27 different slide designs, and they also come with a separate template for a 2-page handout, styled to look similar to the slideshow, so you can create a PDF to accompany your presentation. The templates also come with a collection of video tutorials that show you exactly how to customize them for your use.