Creative Ways to Use Jamboard
What is Jamboard?
So maybe you’ve heard about Jamboard as a great digital tool for right now, but you’re not really sure how to use it. Or maybe you’ve dabbled, but you found it frustrating, and wondered what all the fuss online was about.
Try picturing Jamboard as a digital whiteboard. It was originally created by Google to go with its interactive touchscreen display, but you don’t need one of these large (expensive) devices to use it. It was originally designed as a “draw first” tool, but then Google added sticky notes, shapes, images, and more as options to go with the writing/drawing tools.
You can create multiple white boards within one Jam, applying all these same tools to multiple screens. Imagine rolling up a few different white boards in a workshop space, providing room to explore lots of ideas or for different groups to share their own boards.
At first glance, Jamboard and Slides seem pretty similar. But they were made for different purposes. Jamboard is a digital whiteboard created for brainstorming. Slides was created for a much more polished, professional situation, to present ideas. Jamboard is more informal, less permanent. But of course, as teachers we’re using both in ever-changing, creative ways.
Potash, Betsy. "Creative Uses for Jamboard, with Matt Miller" Spark Creativity, 24 Nov. 2020, http://www.nowsparkcreativity.com/ 2020/11/111-creative-uses-for-jamboard-with.html#more
Jamboard Features to Love
You can save all your different whiteboard files (“Jams”). This gives you the option to link students to previous work, re-use Jams in different classes or years, AND, most importantly, create templates that students can work from. If you design re-usable templates for certain assignments, you can send kids a link to force a copy of the template for them to work on.
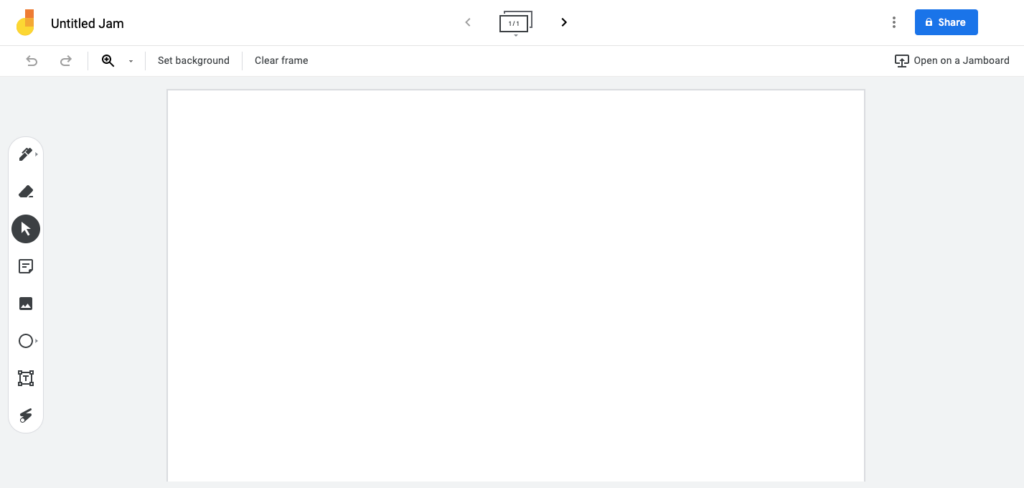
Inside a Jam, you have all the tools along the sidebar. There are pens and highlighters (great if you have touchscreen options for your students). Without the touchscreen option, you’ll probably want to focus more on the other options (images, shapes, text boxes, sticky notes, etc.).
The sticky notes have simple text auto-formatted onto them, but you CAN color code them. Text boxes give you a few more options in terms of formatting. The sticky notes are one of the biggest advantages to Jamboards over Google Slides.
Jamboard Activity Ideas
Template Activities: Once you set up a single Jam template for a repeatable activity, you can use it over and over. Think of things you want students to do often (like many of the ideas listed below), then create a template for that activity and use it over and over, making a new copy each time.
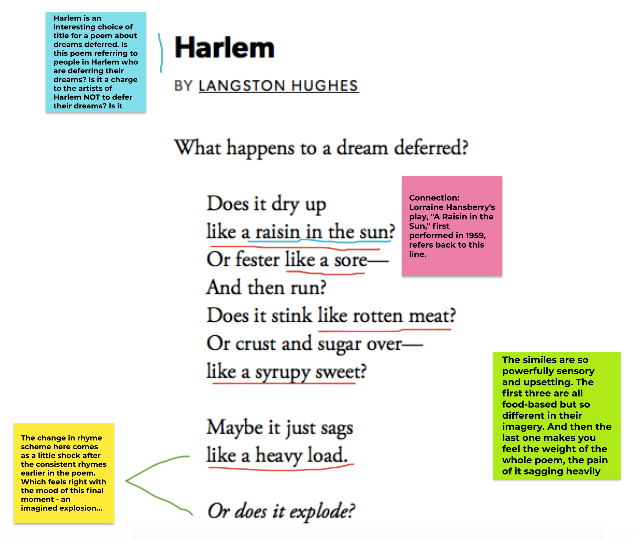
Annotation: Take a picture of some text (screenshot or a camera), stick it onto a whiteboard, and then have students mark it up, add text boxes, pull in related pictures as illustrations (or create illustrations to drop in), snap pictures of themselves to drop in and add little speech bubbles next to themselves for their comments, etc.
Photo comic strips: Have students take pictures of themselves and then add dialogue bubbles. You can use these to practice writing dialogue, hold a mini mock debate with kids arguing two sides of an issue, or in whatever ways you can invent.
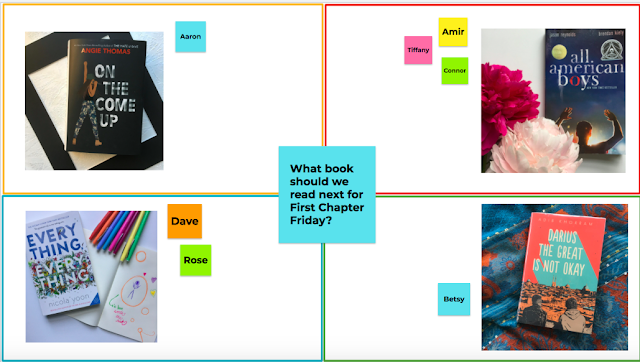
Voting: Generate discussion by asking students to vote on something represented by multiple images on the Jam. Have kids create sticky notes with their names on them near the image they’re voting for, then on the next slide, add a sticky with their justification for their vote.
Pros and Cons Discussion: This can just be a simple white board with a thumbs up on one side, thumbs down on the other. Students can drop stickies with their names onto the side that they agree with.
Top Ten/Five/Three List: Have kids curate a list of pretty much anything, like the top three most dynamic characters from the semester, top three choice reading books in the library, etc. by dropping their answers into shapes on a Jam.
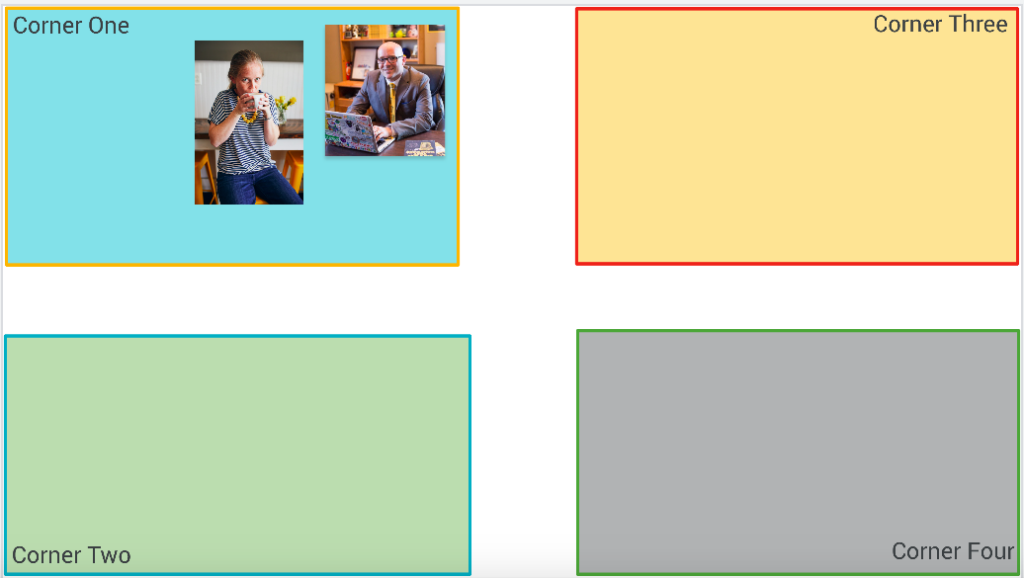
Four Corners: Ask kids to put in a picture of themselves, make it small, and then move it around to the four corners based on their response to a question. For example, on a day that you’re trying to learn about students’ reading preferences, you might do a series of four corners prompts similar to this: “move your picture to corner one if you prefer classics, corner two if you like YA, corner three for Scifi, and corner four if you like mysteries and thrillers.”
You can find many more activities ideas in this wonderful blog post, How to Use Jamboard in the Classroom.
Jamboard Templates
Jamboard templates are where it’s at. When you design interesting templates that you can use over and over, your students get used to the format and the tool and can relax into the activity. Chris Schuyner, a Kindergarten teacher from MN has created so many fun templates. Take a quick tour of his work to get inspired by how fun and easy Jamboard templates can be.
Jamboard Pitfalls
Because Jamboard wasn’t originally created as a collaborative classroom tool, it isn’t designed for teachers to watch over behavior inside. If you’re concerned that your students will use it inappropriately, here are some ideas:
1. Don’t try to put your whole class in one Jam if this is an issue for you. Kids are more likely to feel anonymous and show off by dropping in the wrong kind of image or text with a large audience. Small group brainstorms are probably better than full class activities.
2. The best line of defense is to talk to kids about the situation. Would the kids rather do photocopied worksheets, drill-and-kill style, etc. or do fun creative tech things? Straightforward conversations like this will solve the vast majority of tech abuse situations. You may still have some tough nuts to crack, and you might have to pull them out to do other activities because they can’t handle something like Jamboard, but you don’t want to let those one or two kids ruin a whole activity genre for the rest of the class.
Ready to Get Started?
1. To start exploring Jamboard, just click here and use the plus button to start a new Jam.
2. Change the “share” settings to “anyone with the link can edit.”
3. Give students a simple check-in question and ask them to post their answer on a sticky note. Just do something fun, not even academic, to try out the tool. Something like, “What’s your favorite book?” or “What’s your favorite ice cream flavor?” makes for an easy start.