List, Group, Label
What It Is
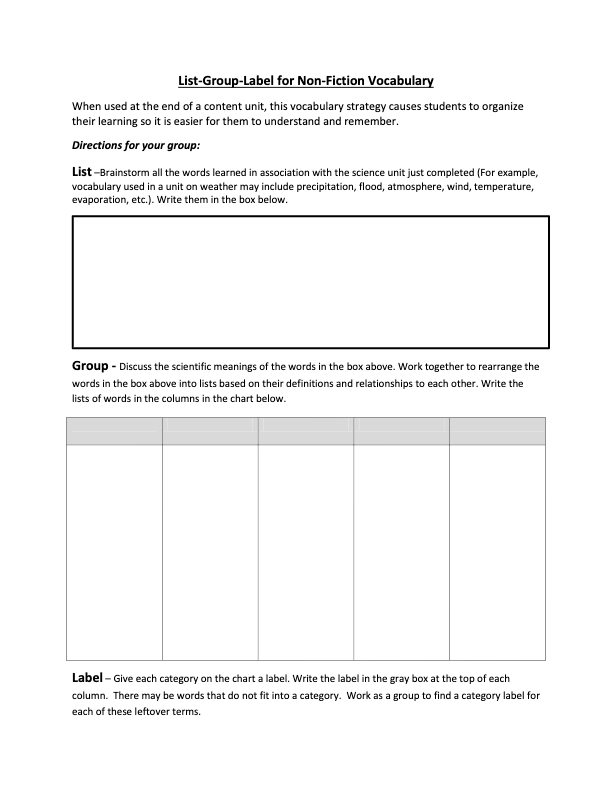
List, Group, Label is a technique developed by Hilda Taba (1967). It is an excellent way to have students collaboratively “spill their brains” onto a sheet of paper at the end of a multi-lesson unit. We’ve modified it here so that it embeds the first step of the Ripple, by asking students to brainstorm on their own first.
How It Works
- Individual Brainstorm: Using the main topic of study, ask students to individually brainstorm and record all the concepts associated with the main topic. Give the students two to three minutes to jot down some thoughts. For example, your topic might be “Landforms.”
- Group Brainstorm: Place students in groups of no more than four. Give each group a piece of chart paper, or an 11” × 17” or 8 1⁄2” × 14” sheet of paper. (It should be large enough so that they can all see it when they later hold it up to share it with other groups.) Ask the groups to select a scribe to record the group’s contributions on the paper. They should begin by writing the topic in large print in the center of the paper. The scribe uses only one color marker to write the concepts that group members share. Although students will be using their individually brainstormed lists, they should also freely add to the list as new ideas pop up. They should shoot for as many concepts as possible.
- Making Categories: During this next step, the students will need several different colors of markers. Ask students to review the contributions, begin making categories, and assign each category a color. For example, students might notice that, for a concept map of World War II, the concepts of Germany, Japan, and Italy all fit under the category “Axis Powers.” They should circle or underline each concept using the color that was assigned to that group. Ask students to make a legend (or key), so that others can identify the category by looking at the color.
- Share your List, Group, Label: As groups finish creating their List, Group, Label charts, ask them to share their chart with other tables who are also finished.
- Whole Group: Display the charts and ask for volunteers to share commonalities noticed and any surprises or forgotten items in their charts.
How to Ensure Higher-Order Thinking
After students have shared with another group, ask them to quickly add any forgotten items that they picked up from their peers to their charts. You may also want to have groups use a pen or pencil so that the concepts are distinguishable from those that they thought of on their own. Let them know that you’re only asking them to use a different writing tool because you want to get a feel for how much they are learning from each other.

Source
Himmele P., and Himmele, W. Total Participation Techniques: Making Every Student an Active Learner. ASCD, 2017, pp.132-134.